
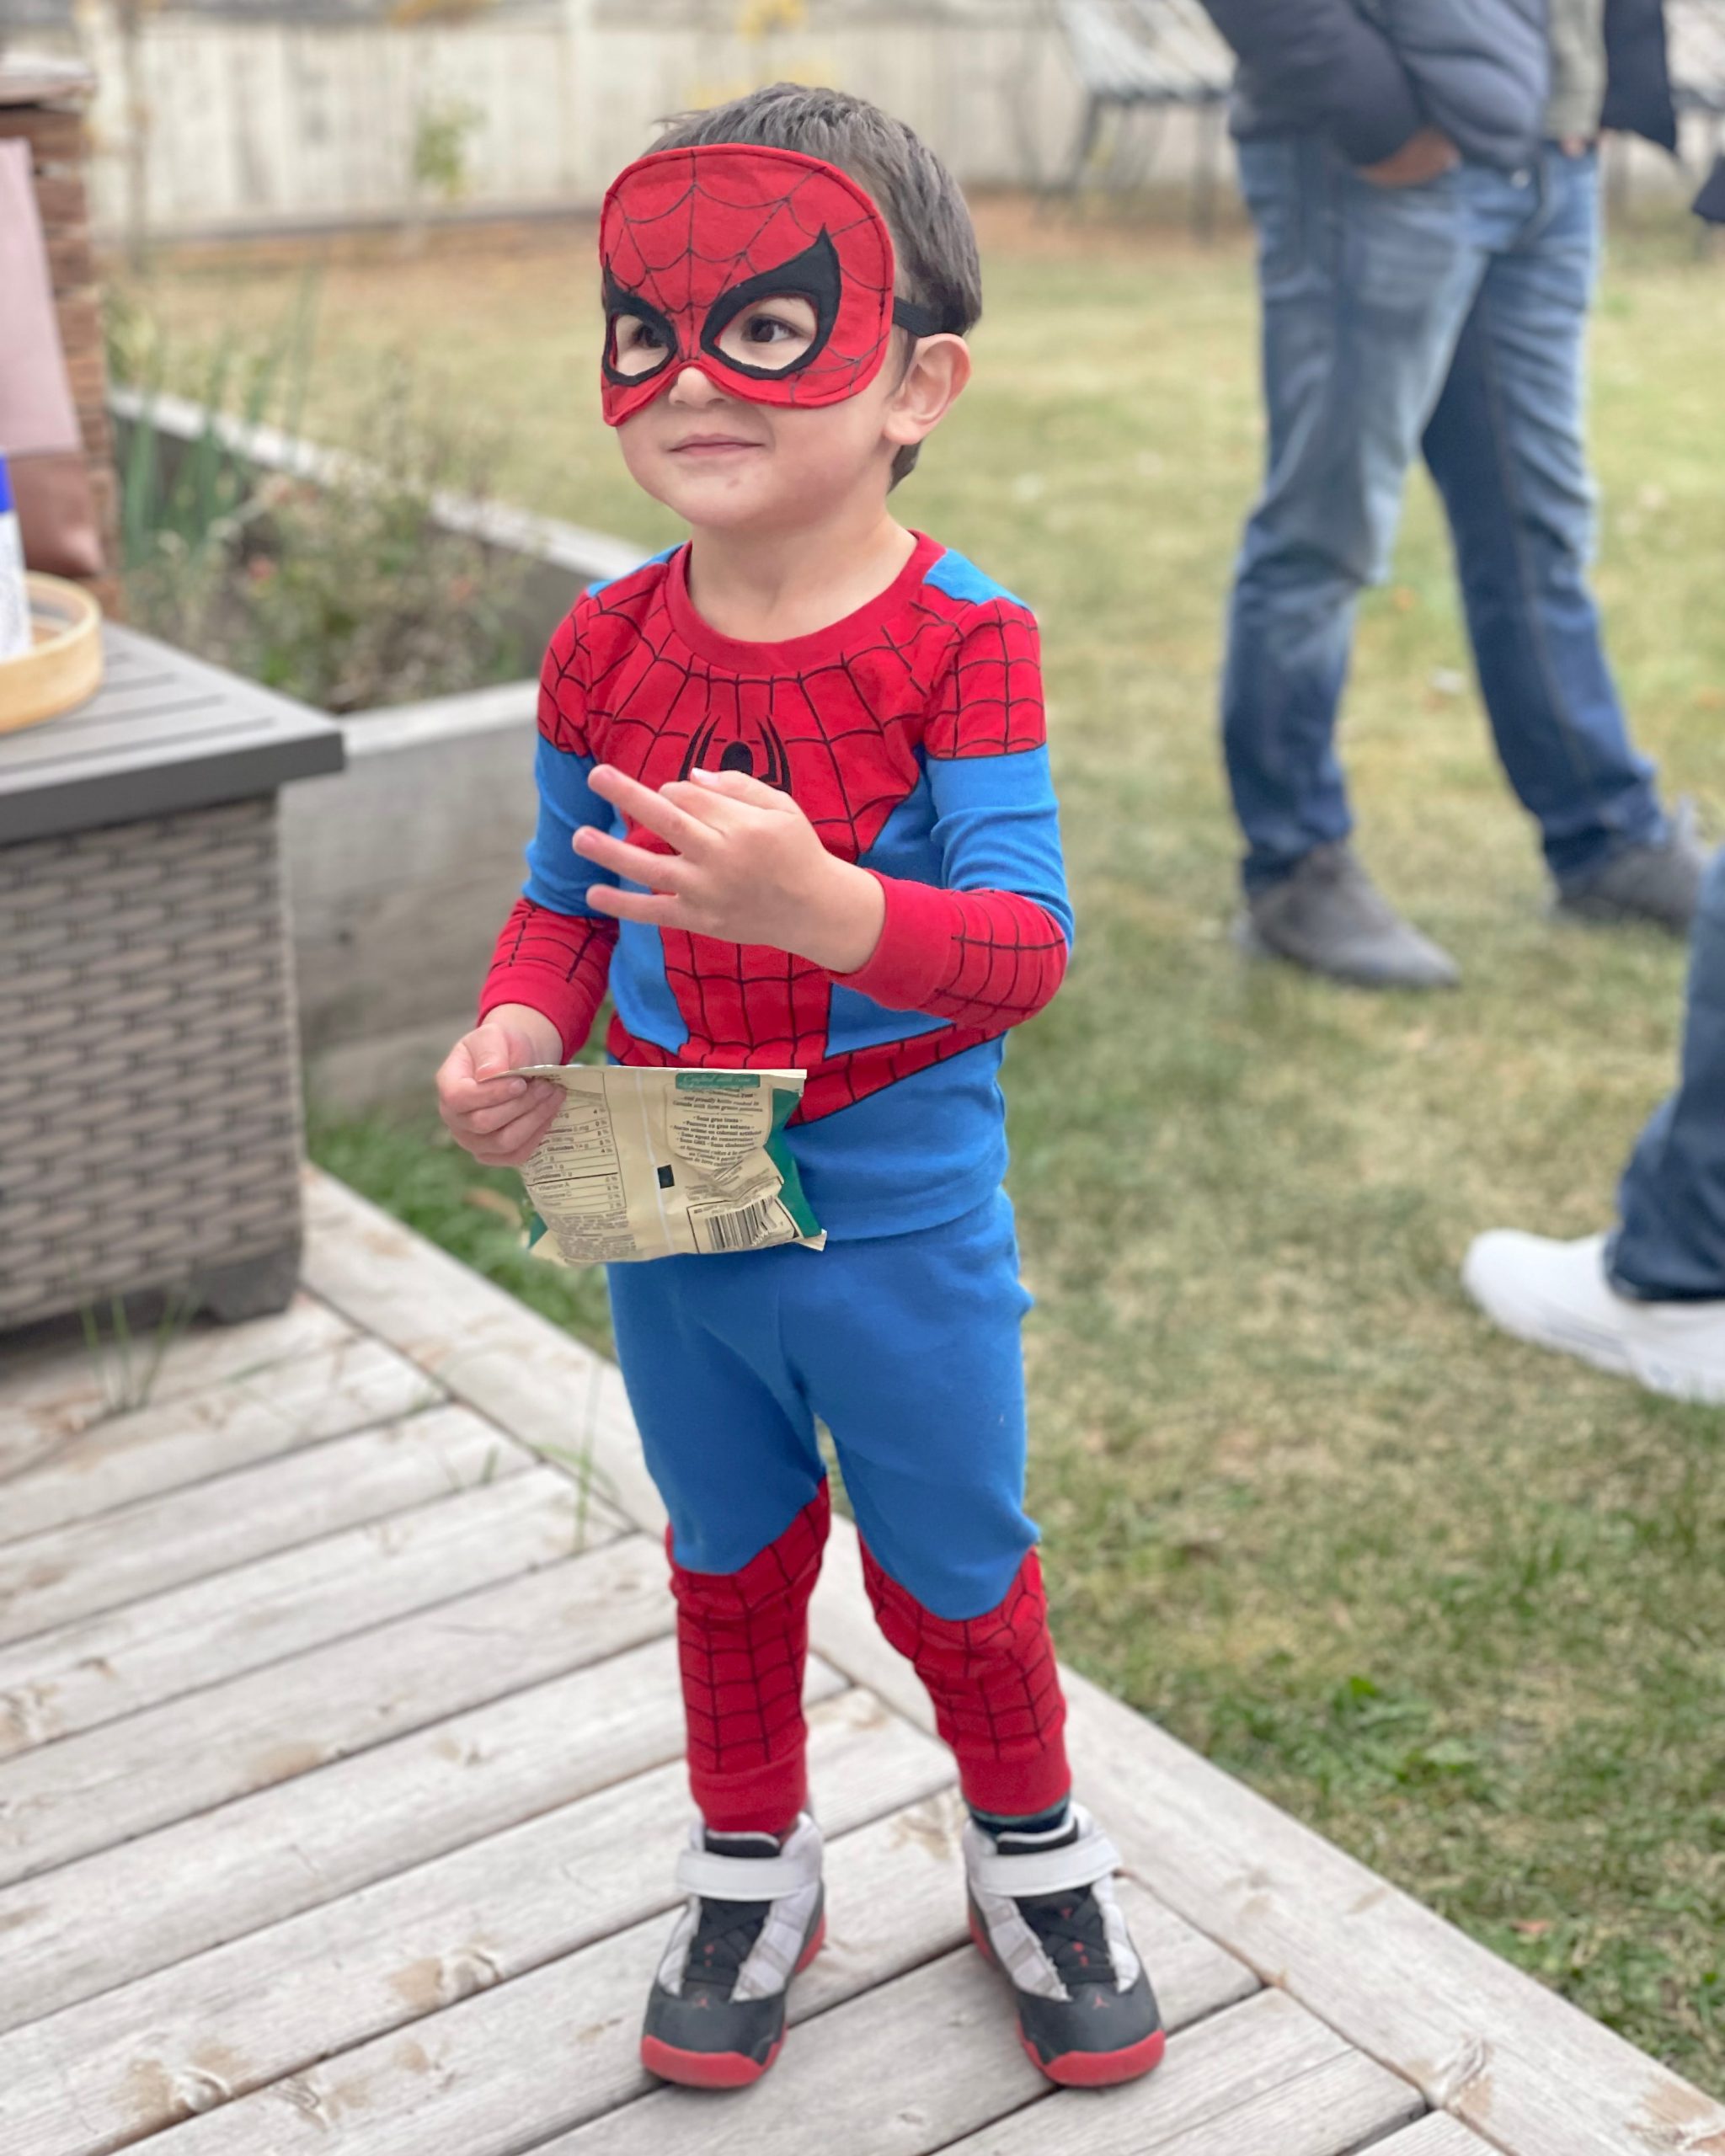
My Lincoln turned 3 earlier this month. He’s been obsessed with Spider-Man lately, and who can blame him. Spider-Man is pretty amazing. Naturally, this meant that his birthday theme could be nothing else but Spider-Man!
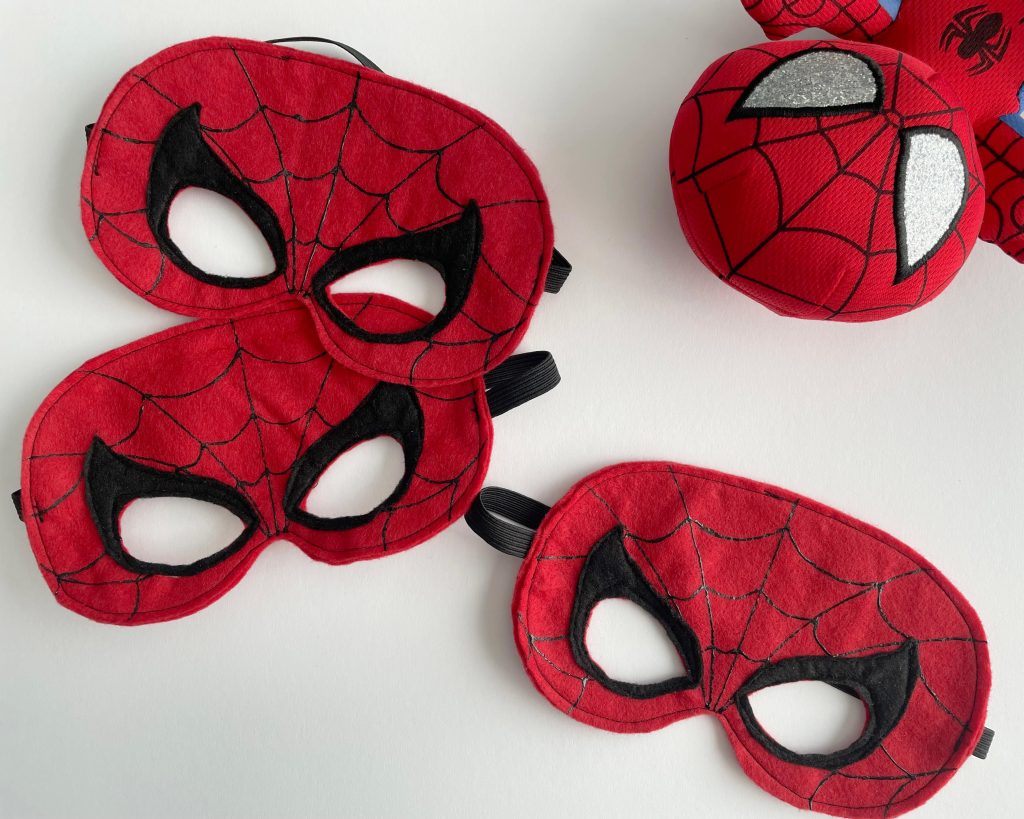
As always, I try to keep things muted and simple with children’s parties. I really wanted each child to have a mask to wear so that they could participate in all the Spider-Man themed fun as the masked superhero themselves!
Disclosure: this post contains affiliate links, including Amazon Affiliate links. An affiliate link means I may earn an advertising fee if you make a purchase through my link without any extra cost to you. This helps to keep this little blog alive, so thank you! For additional information, please view my privacy policy.
Could I have purchased these? Sure. It was a lot of work to make 12 of them. But I wasn’t happy with the offerings online, so the solution for me is always to make my own!
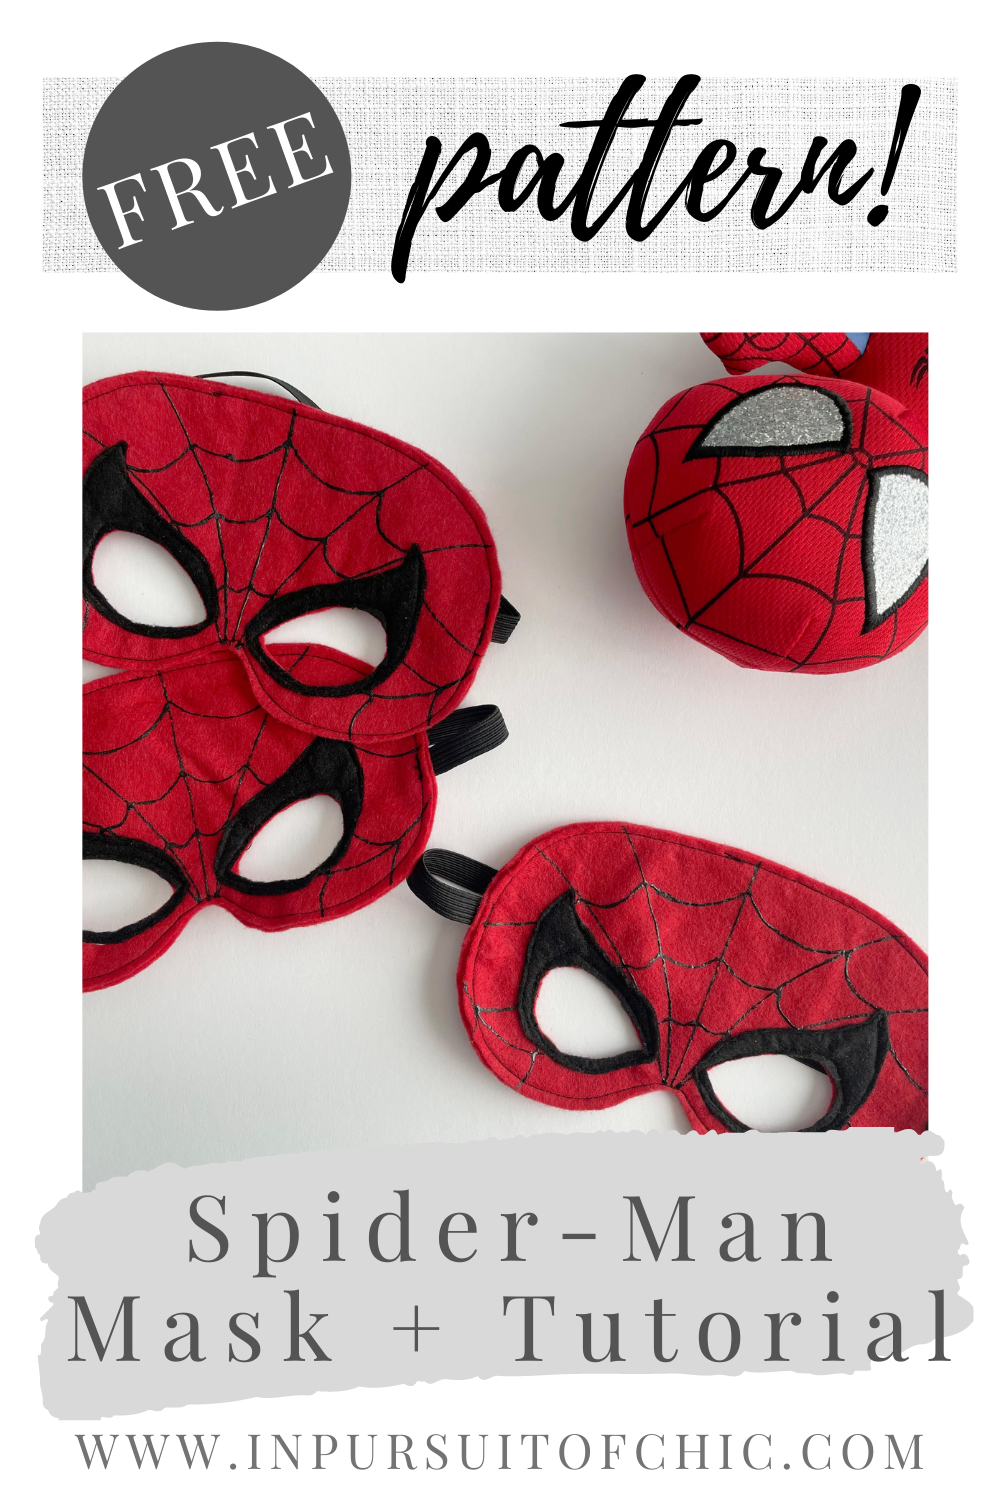
I’m happy to share this template and tutorial with you guys so you can make your own Amazing Spider-Man masks for your little ones!
To make this Spider-Man mask, you will need:
- red felt
- black felt
- black 3/8″ or 3/4″ braided elastic, cut to 11″ long
- black thread
- Tulip 3D fabric paint in black
- spray adhesive (optional)
- FREE Spider-Man mask template
How to sew the felt Spider-Man mask
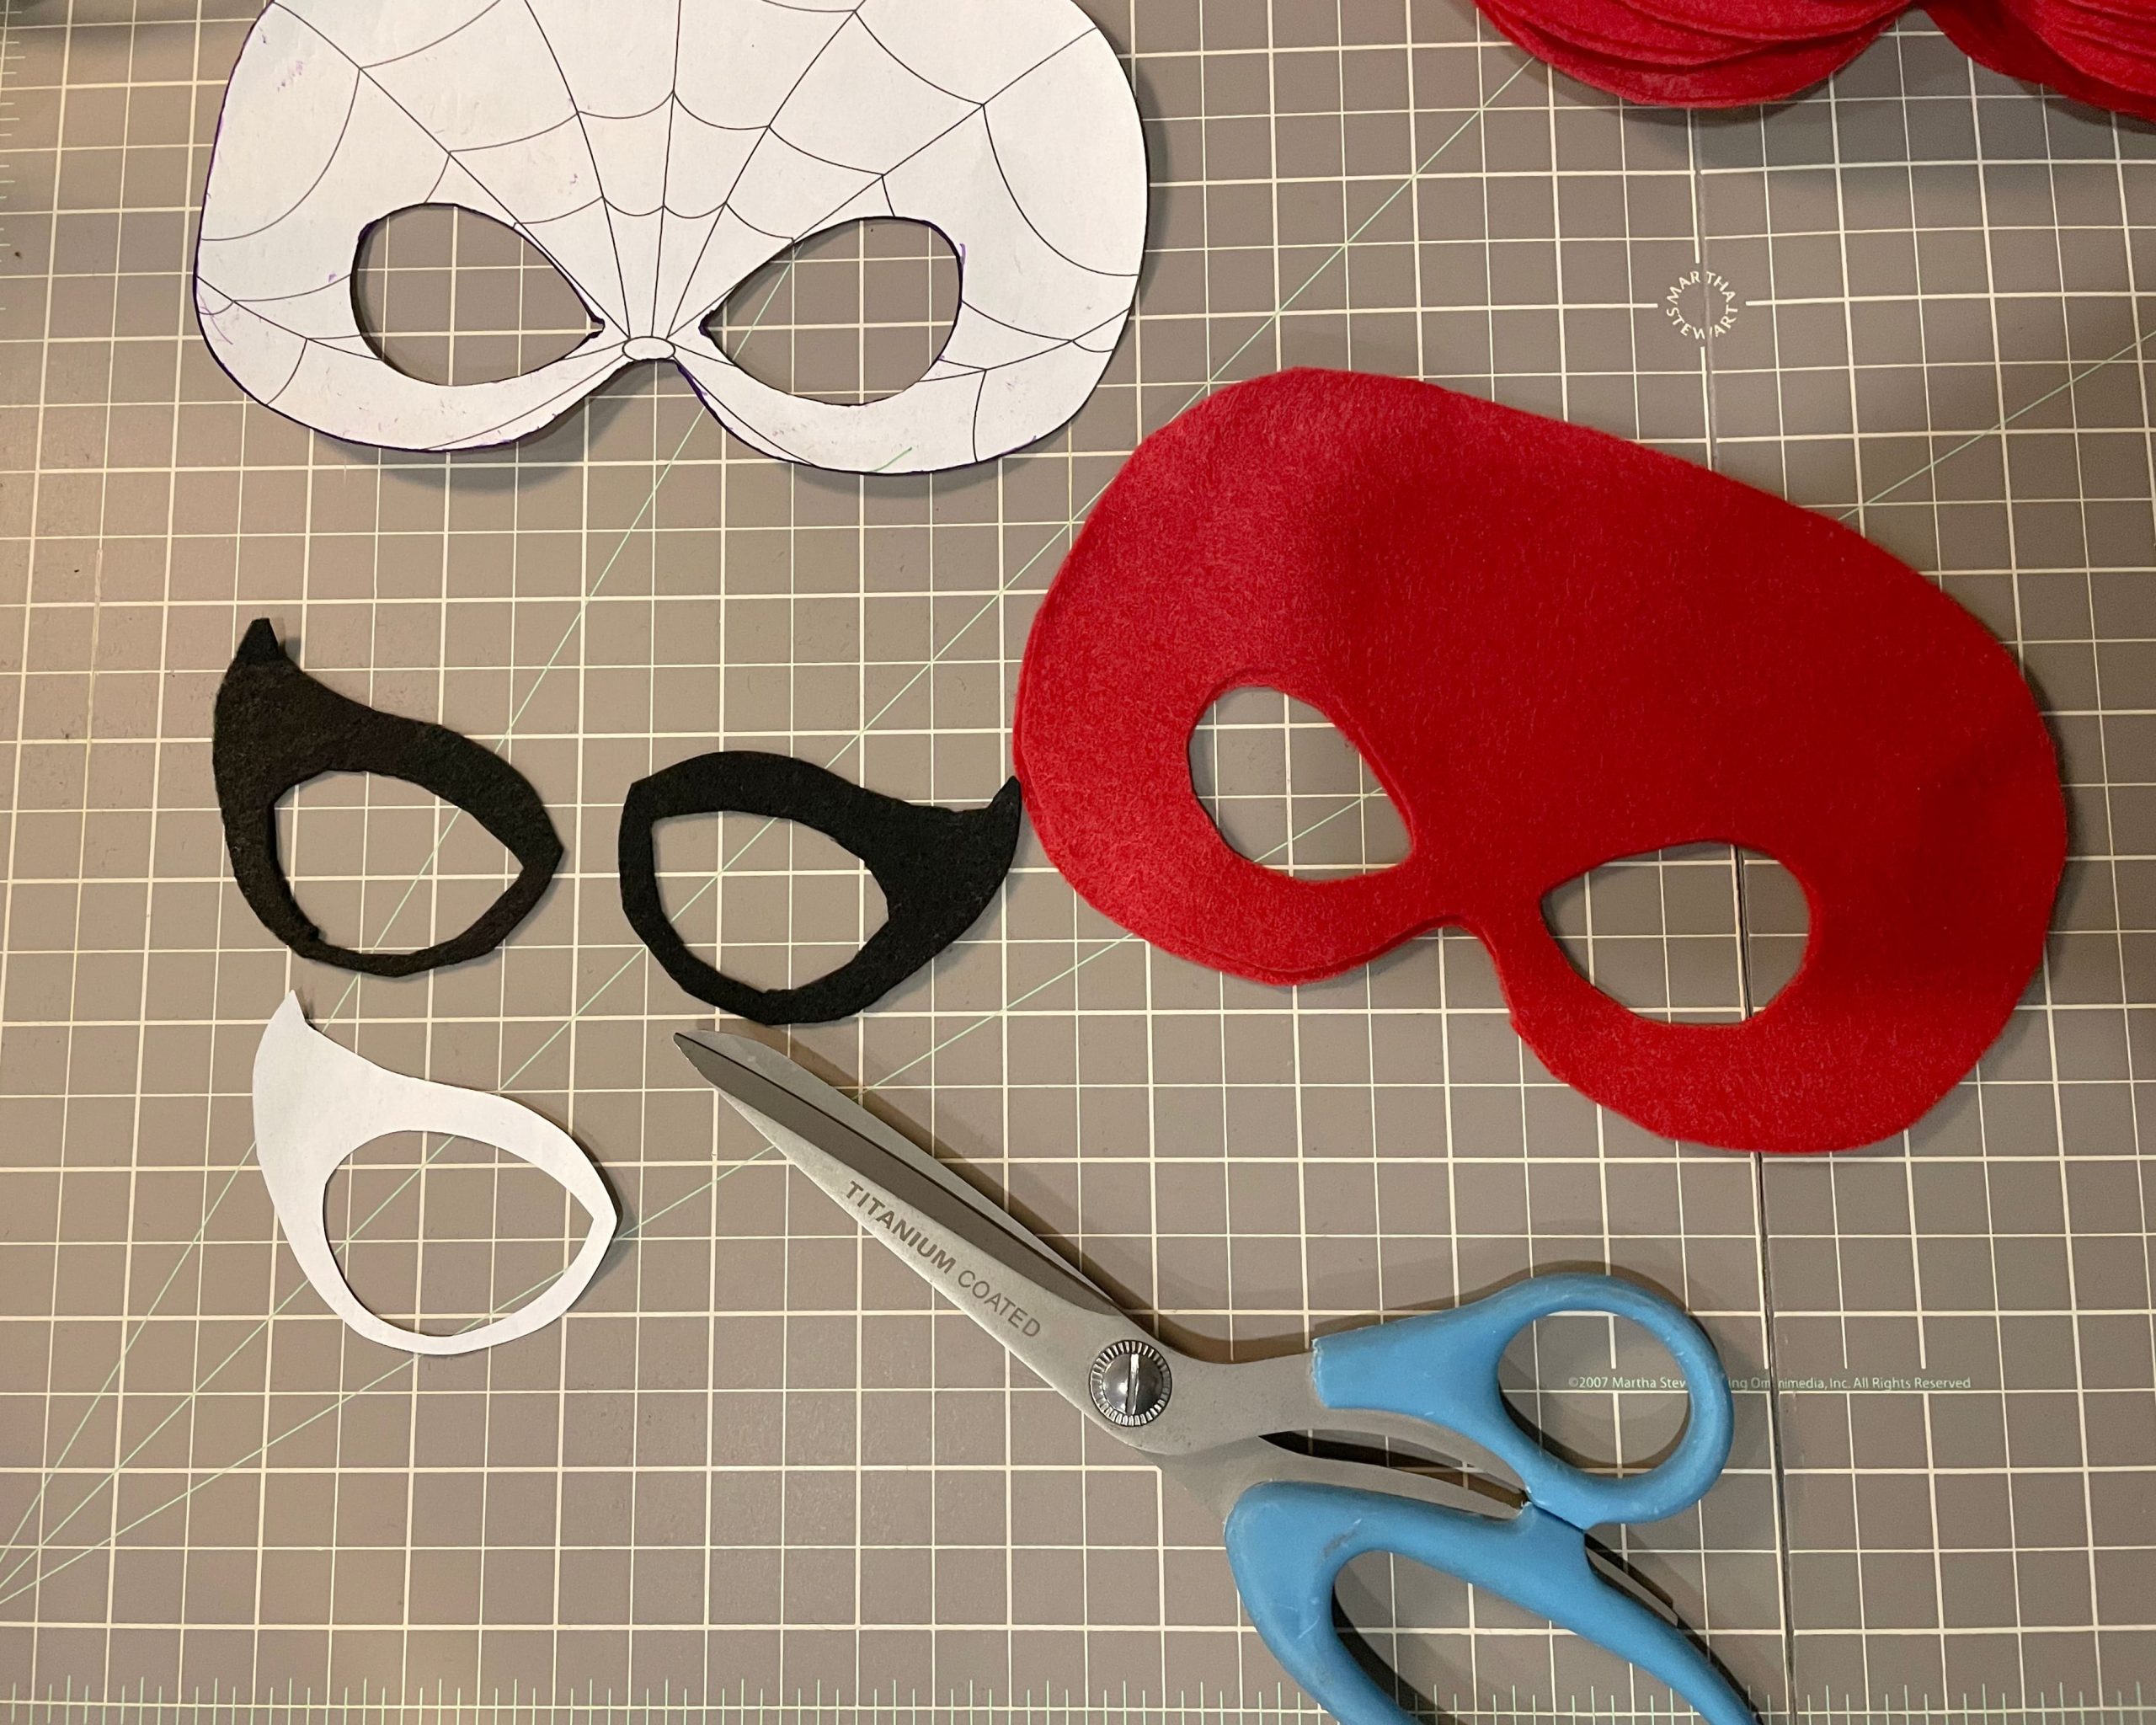
1. Download, print and cut out the Spider-Man mask template. Trace the pattern onto red felt and cut out 2 pieces. Trace the eye border pieces on black felt and cut out.
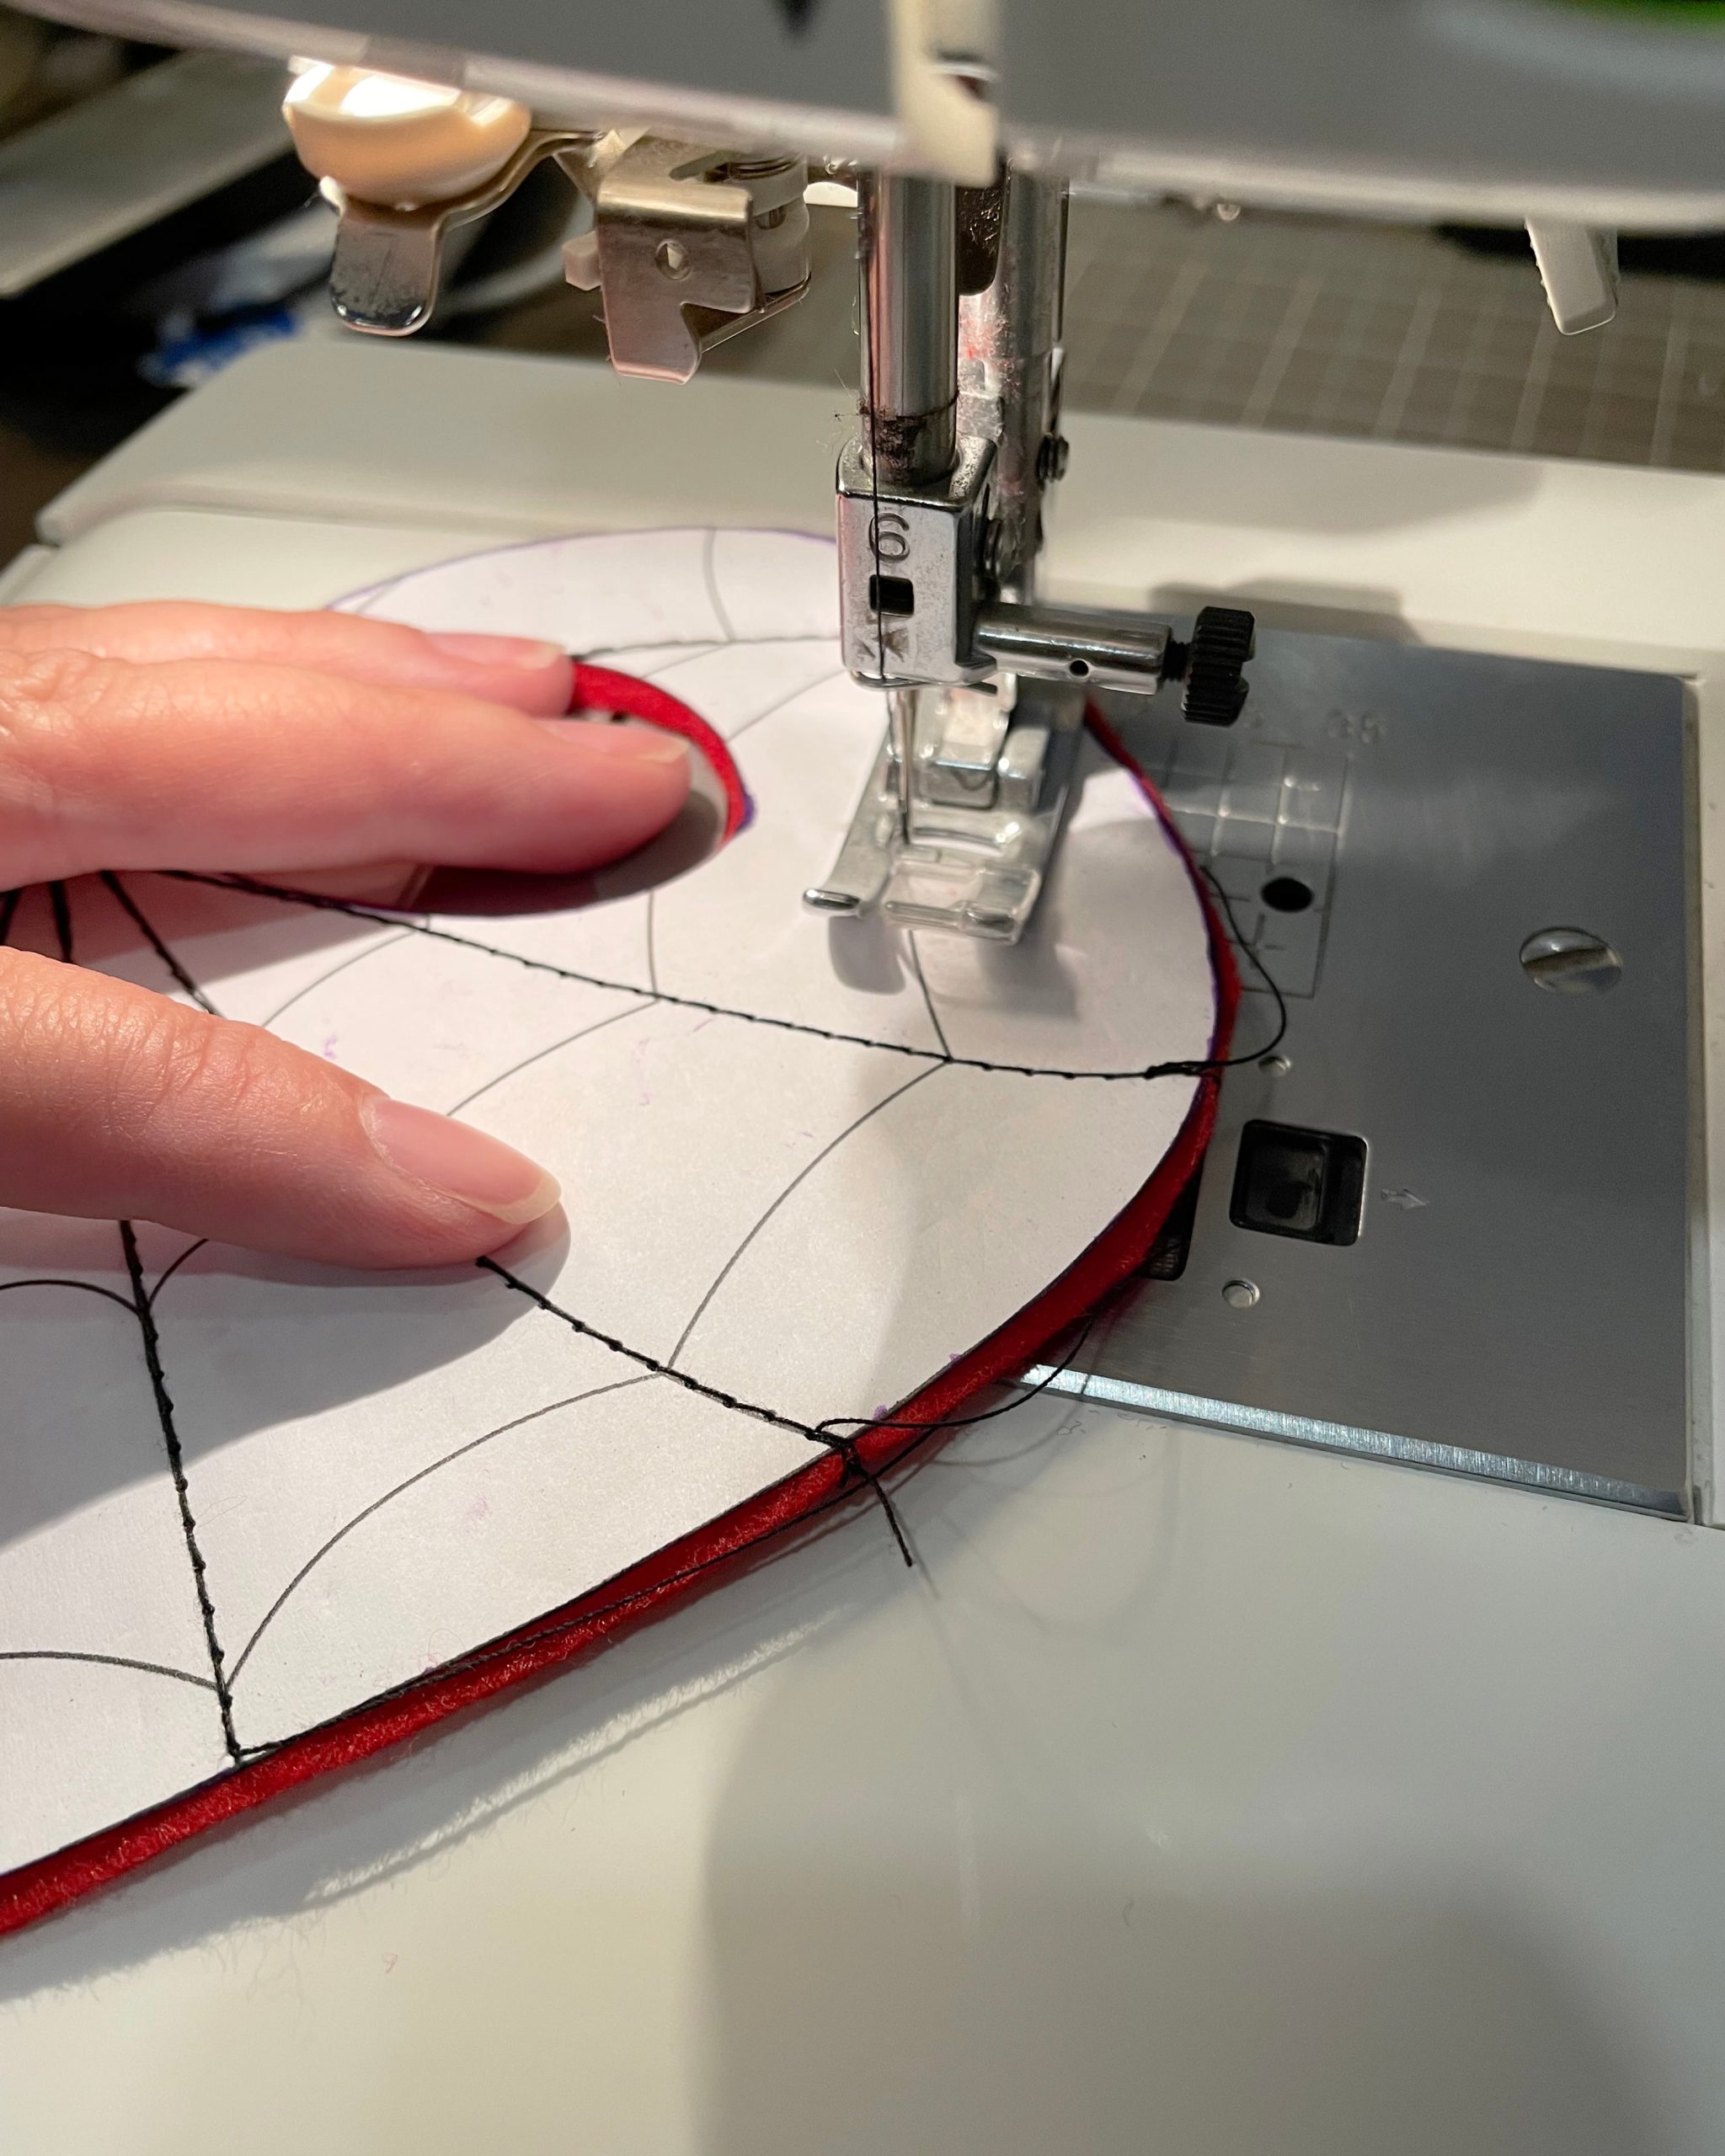
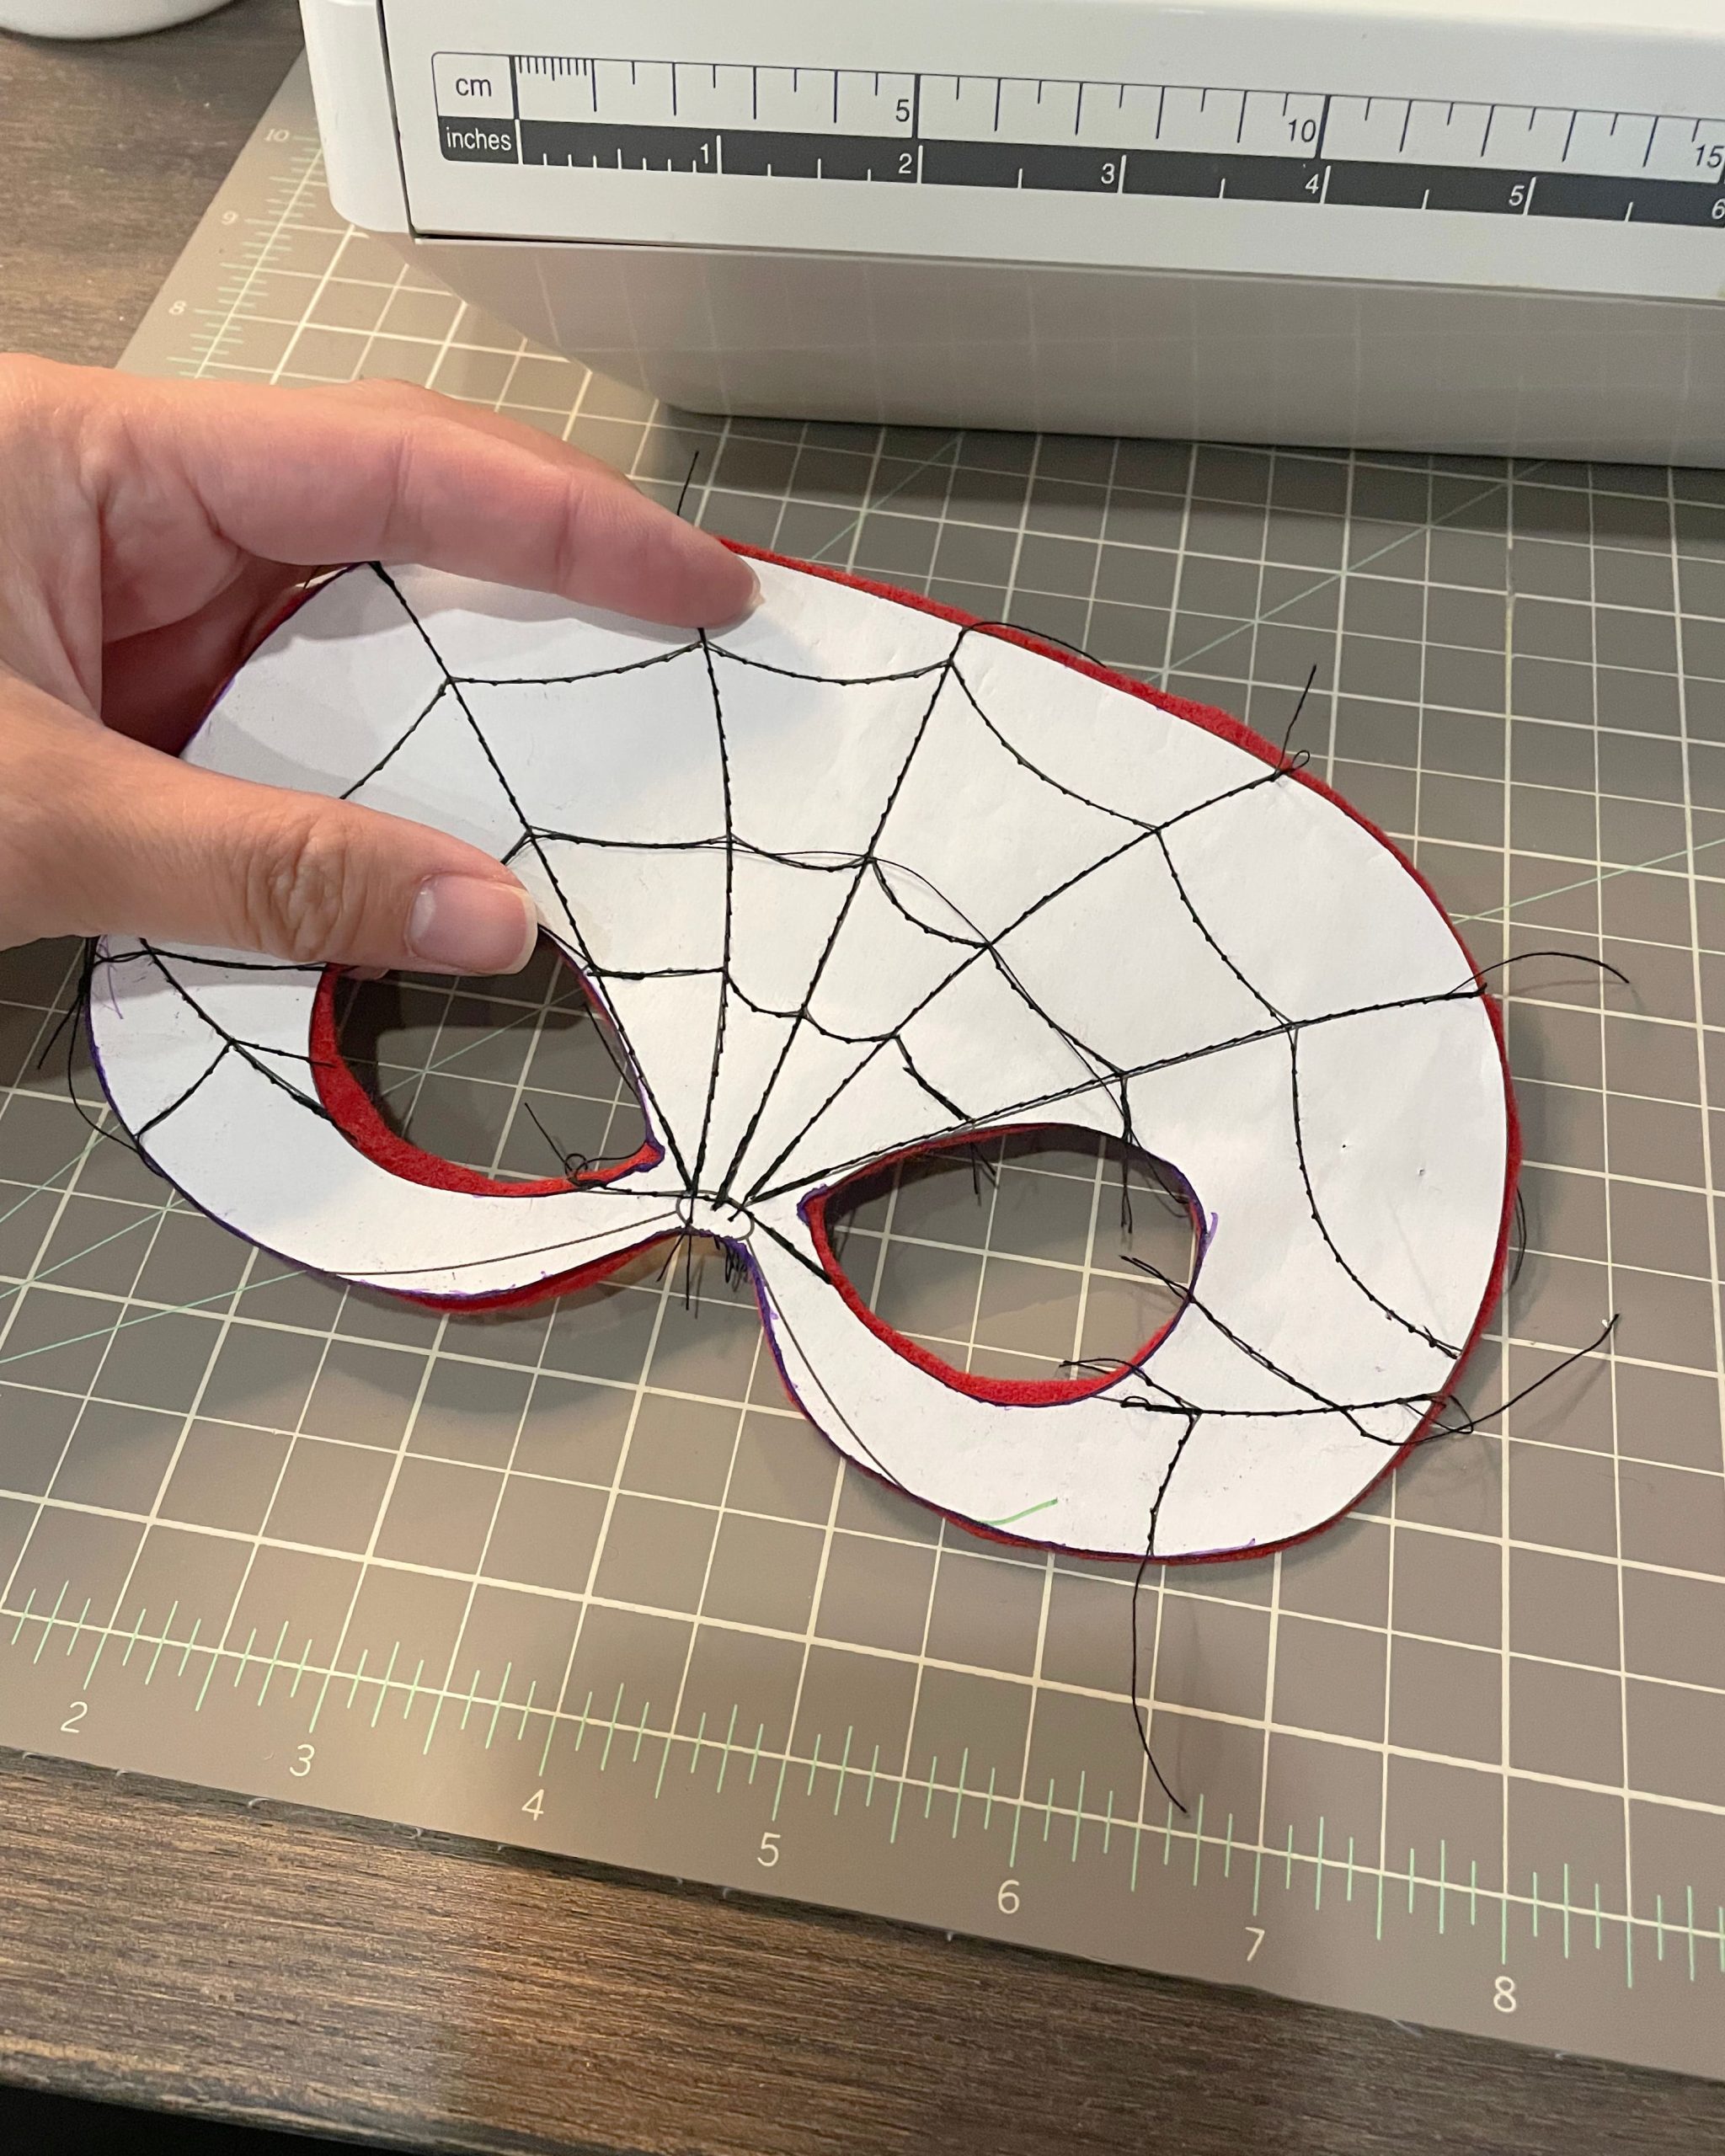
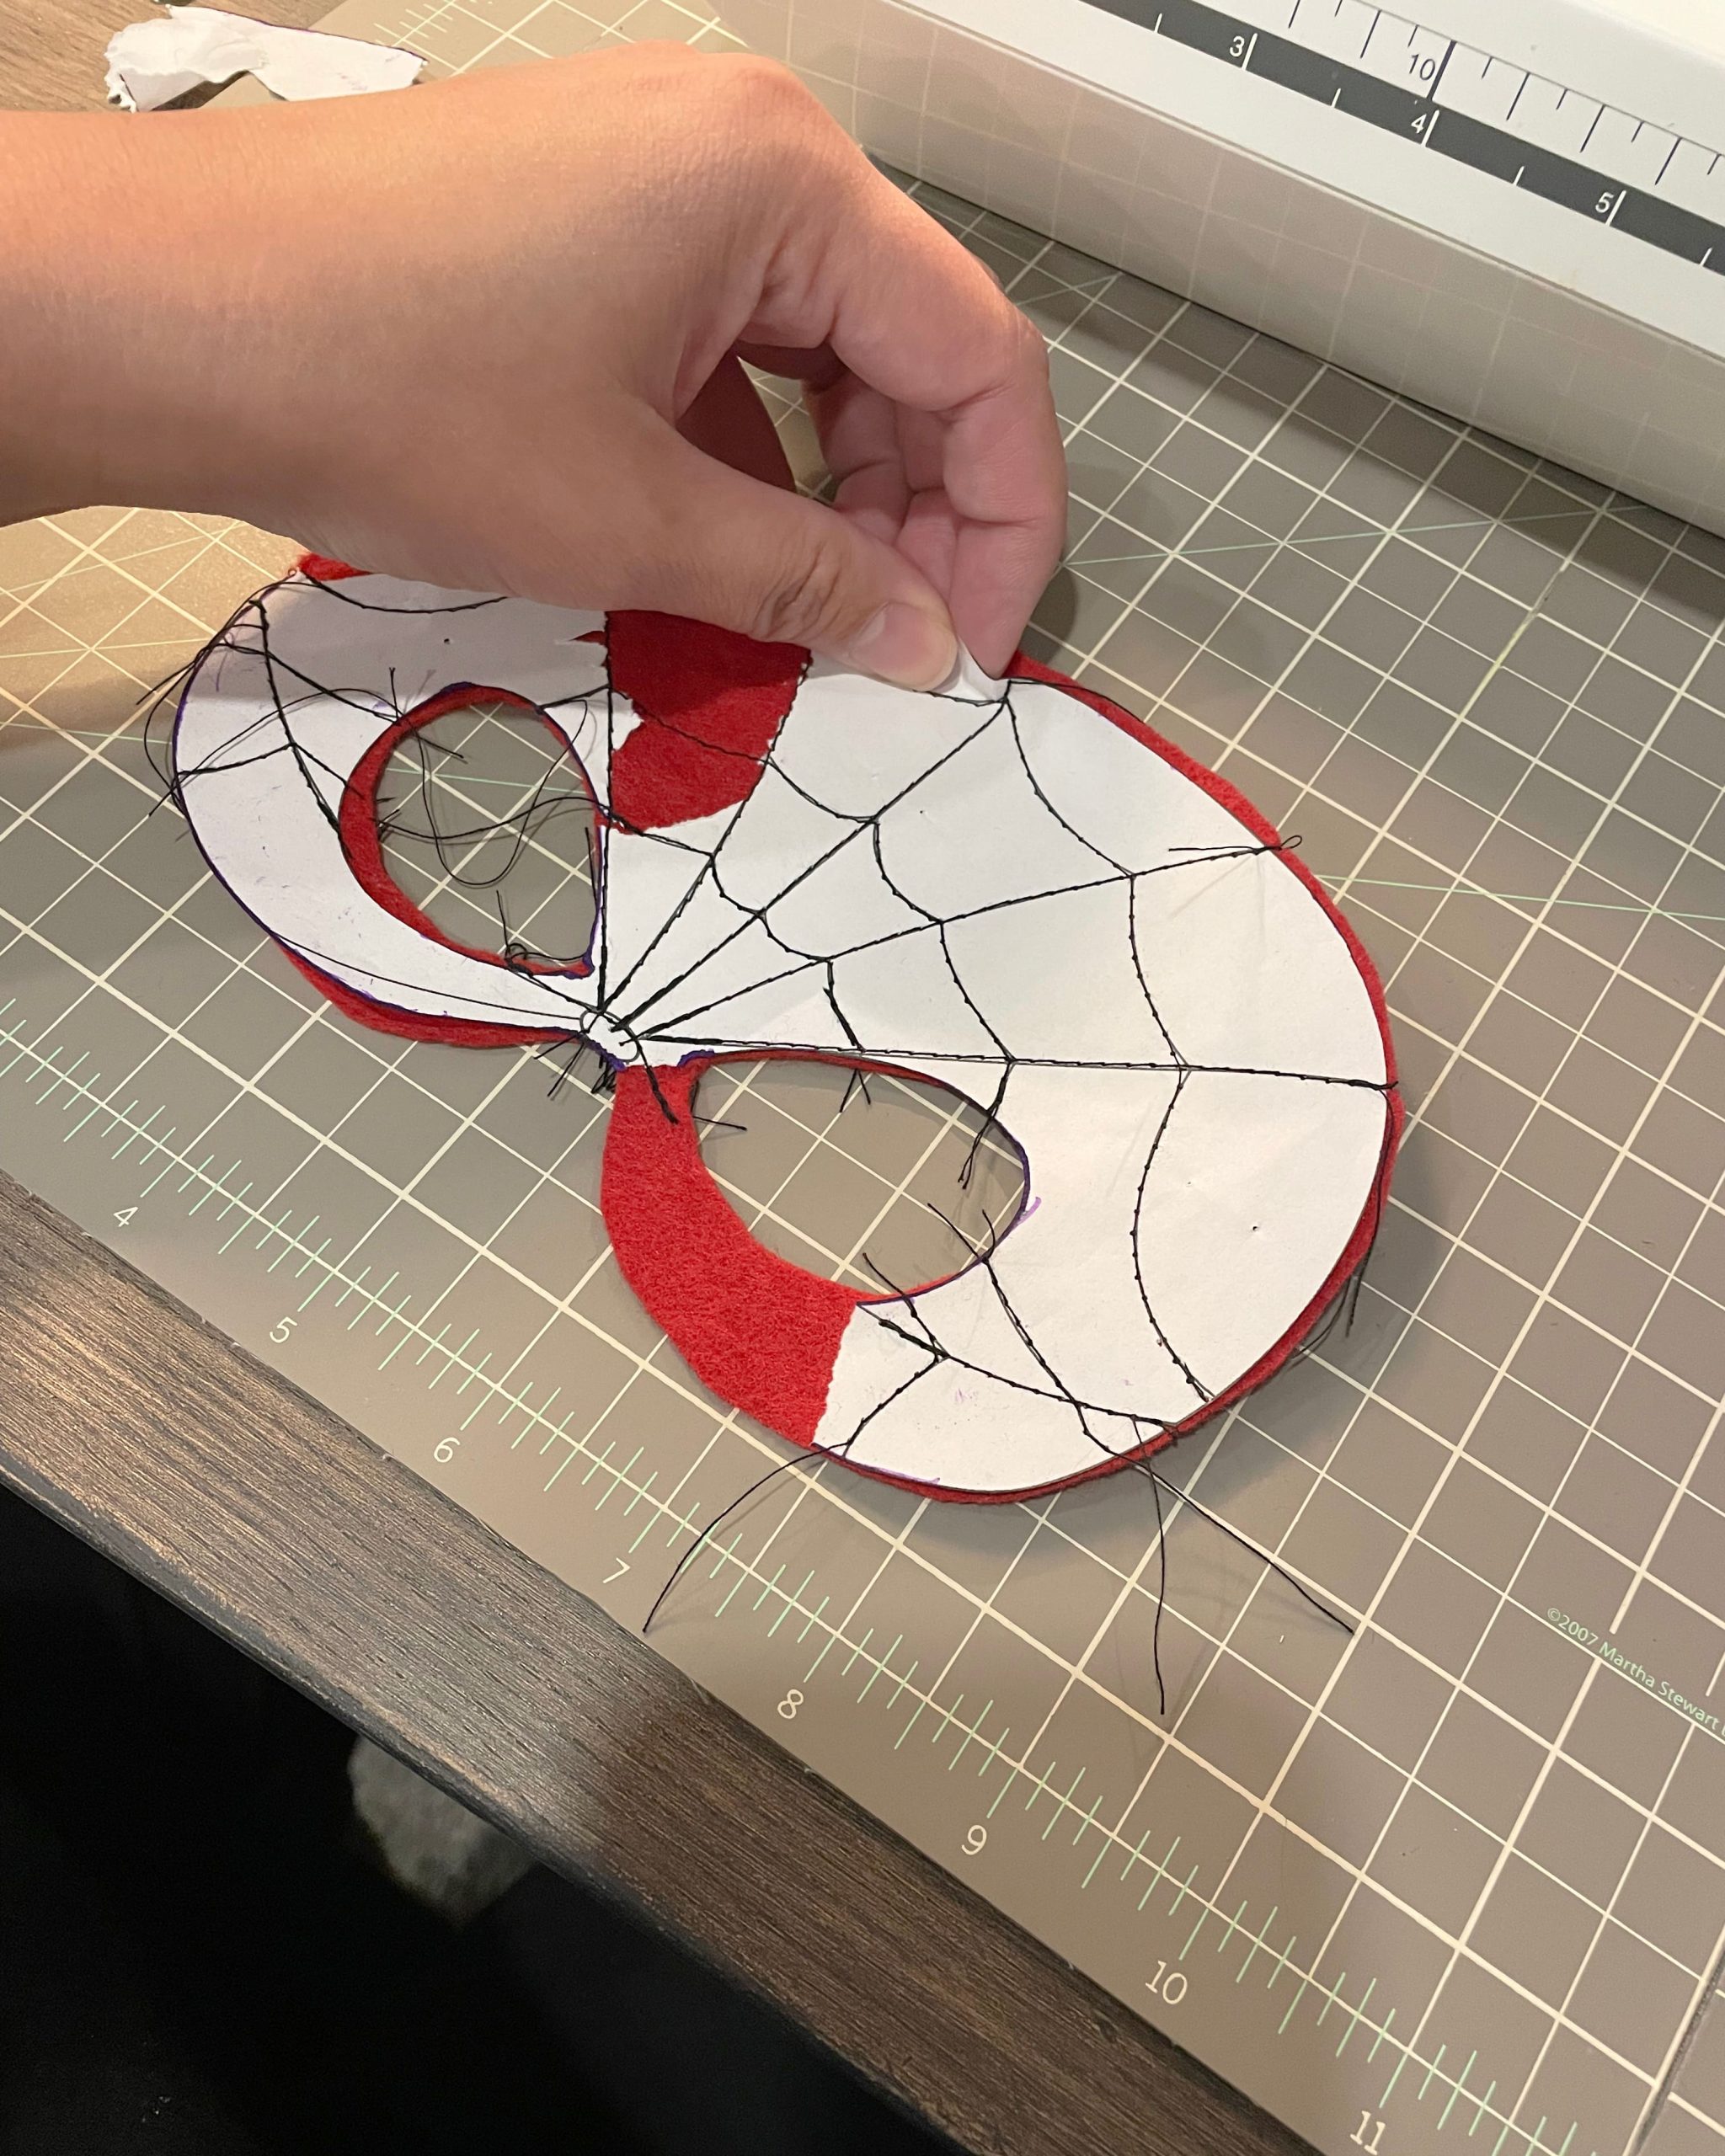
2. Draw or sew the black web design onto one piece of the mask. If you’re making only one mask and you’re going for that soft hand-stitched look, I would recommend sewing the design on. To do this, lay the pattern on top of your piece of red felt and use pins to attach it. Then using black thread in your sewing machine, stitch over the lines on the template. Carefully rip the pattern away from the red felt.
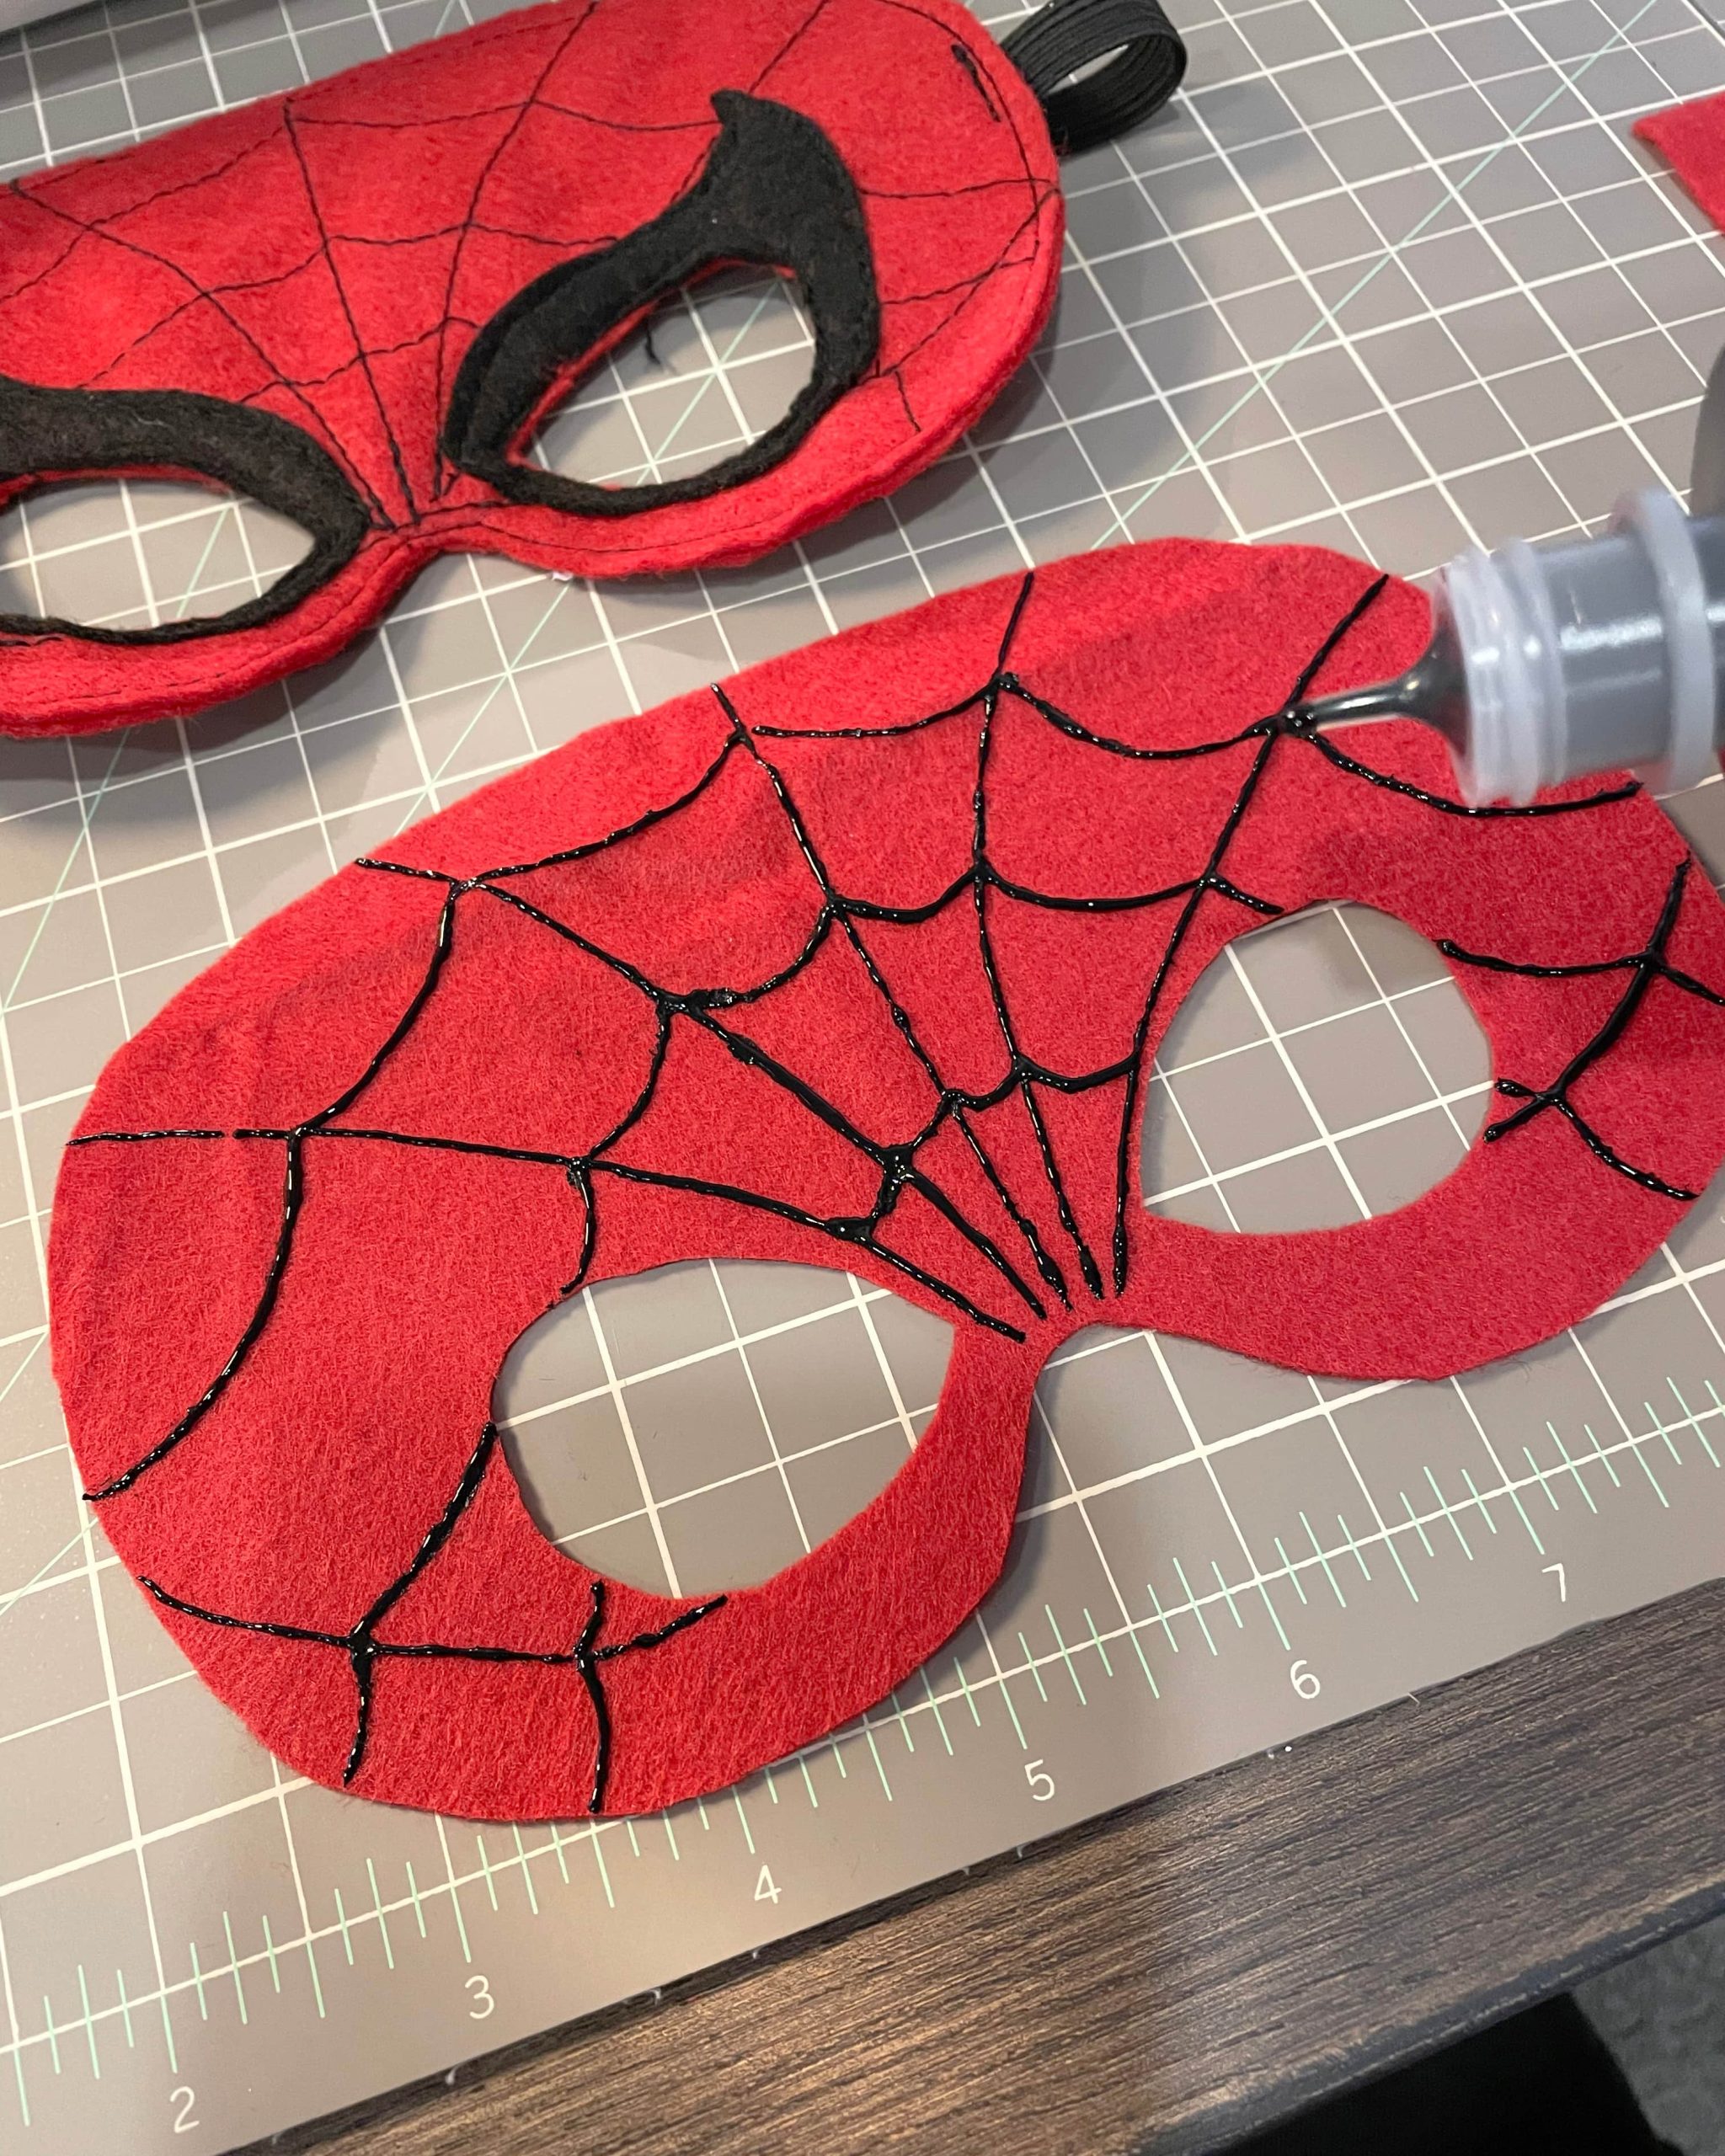
The easier route is to use Tulip 3D fabric paint to draw the lines. Draw the web design onto one of the red mask pieces using the template as a guide. Set aside to dry. This method is MUCH easier, faster and produces a cool shiny and raised effect on the mask.
After stitching the lines on the first mask with my sewing machine, I knew that there was no way I could do that to 11 other masks! So I’m glad I switched over to using the fabric paint.
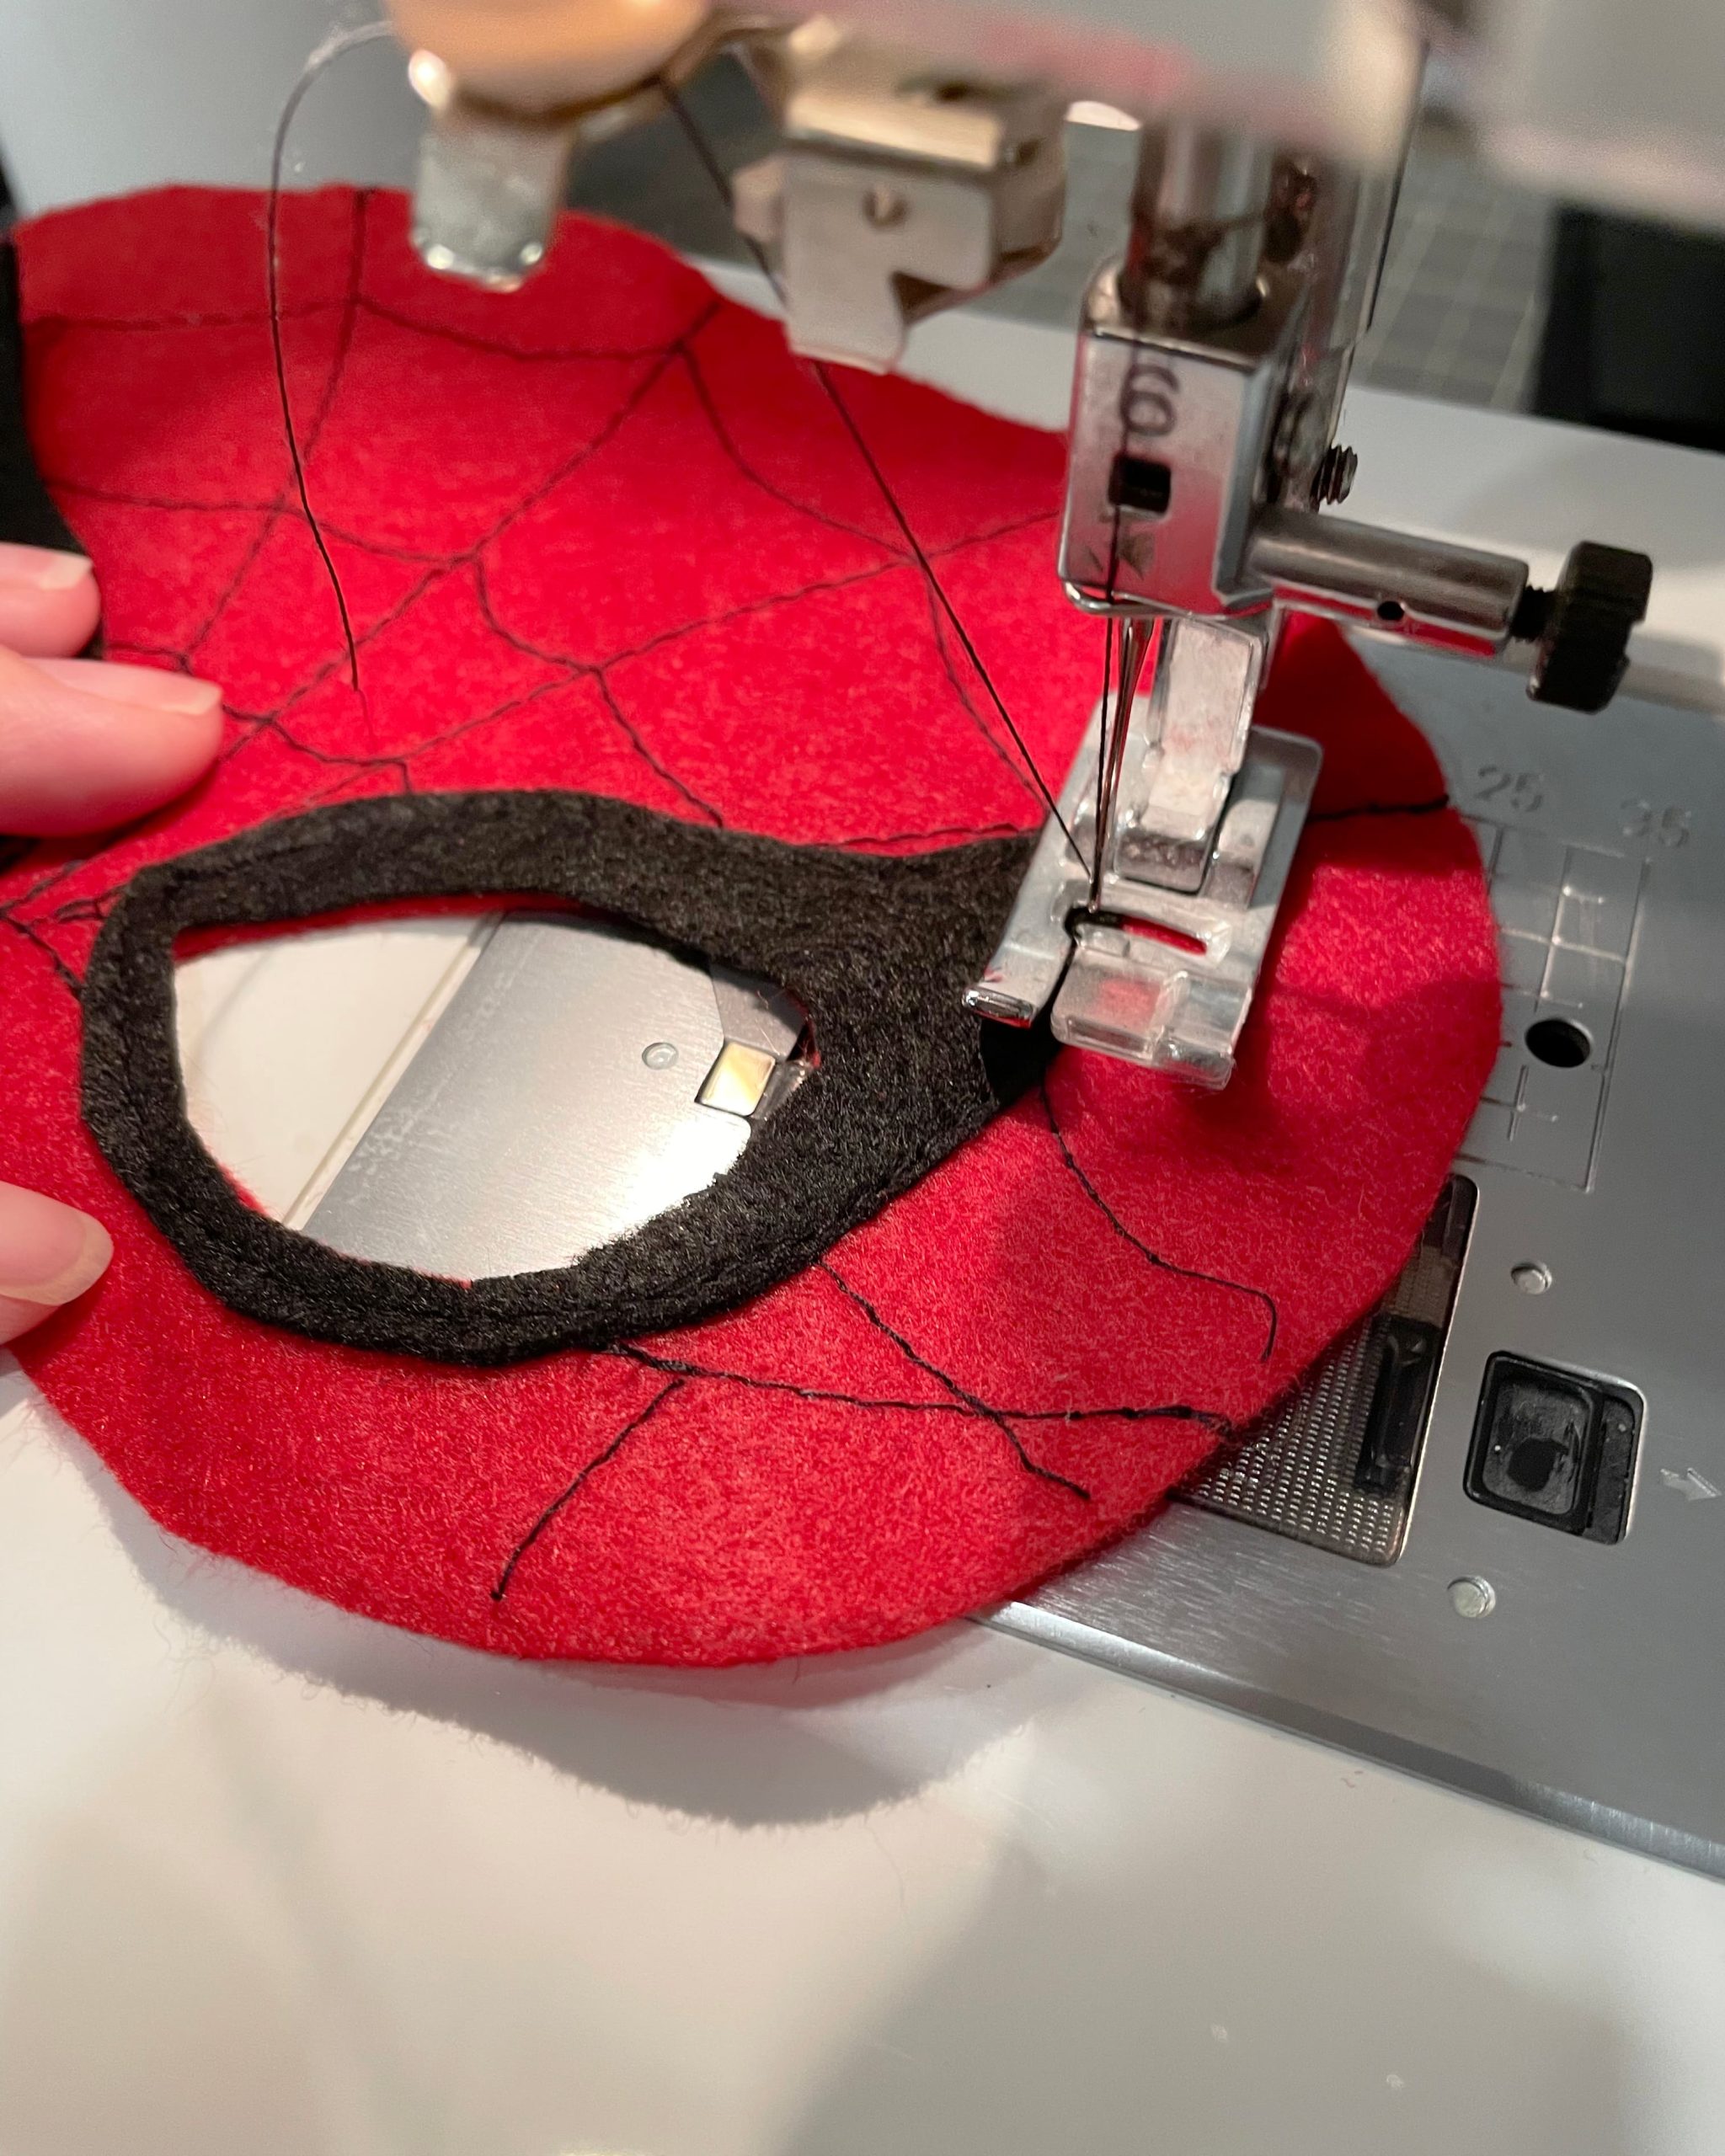
3. Lightly apply adjustable spray adhesive to backs of black felt. These pieces are thin, so using spray adhesive will help to keep them in place while you are sewing.
Line up black eye border felt pieces around eye holes of the mask with the black web design on it. Stitch along the outer stitch line of the black eye border pieces as indicated on the template.
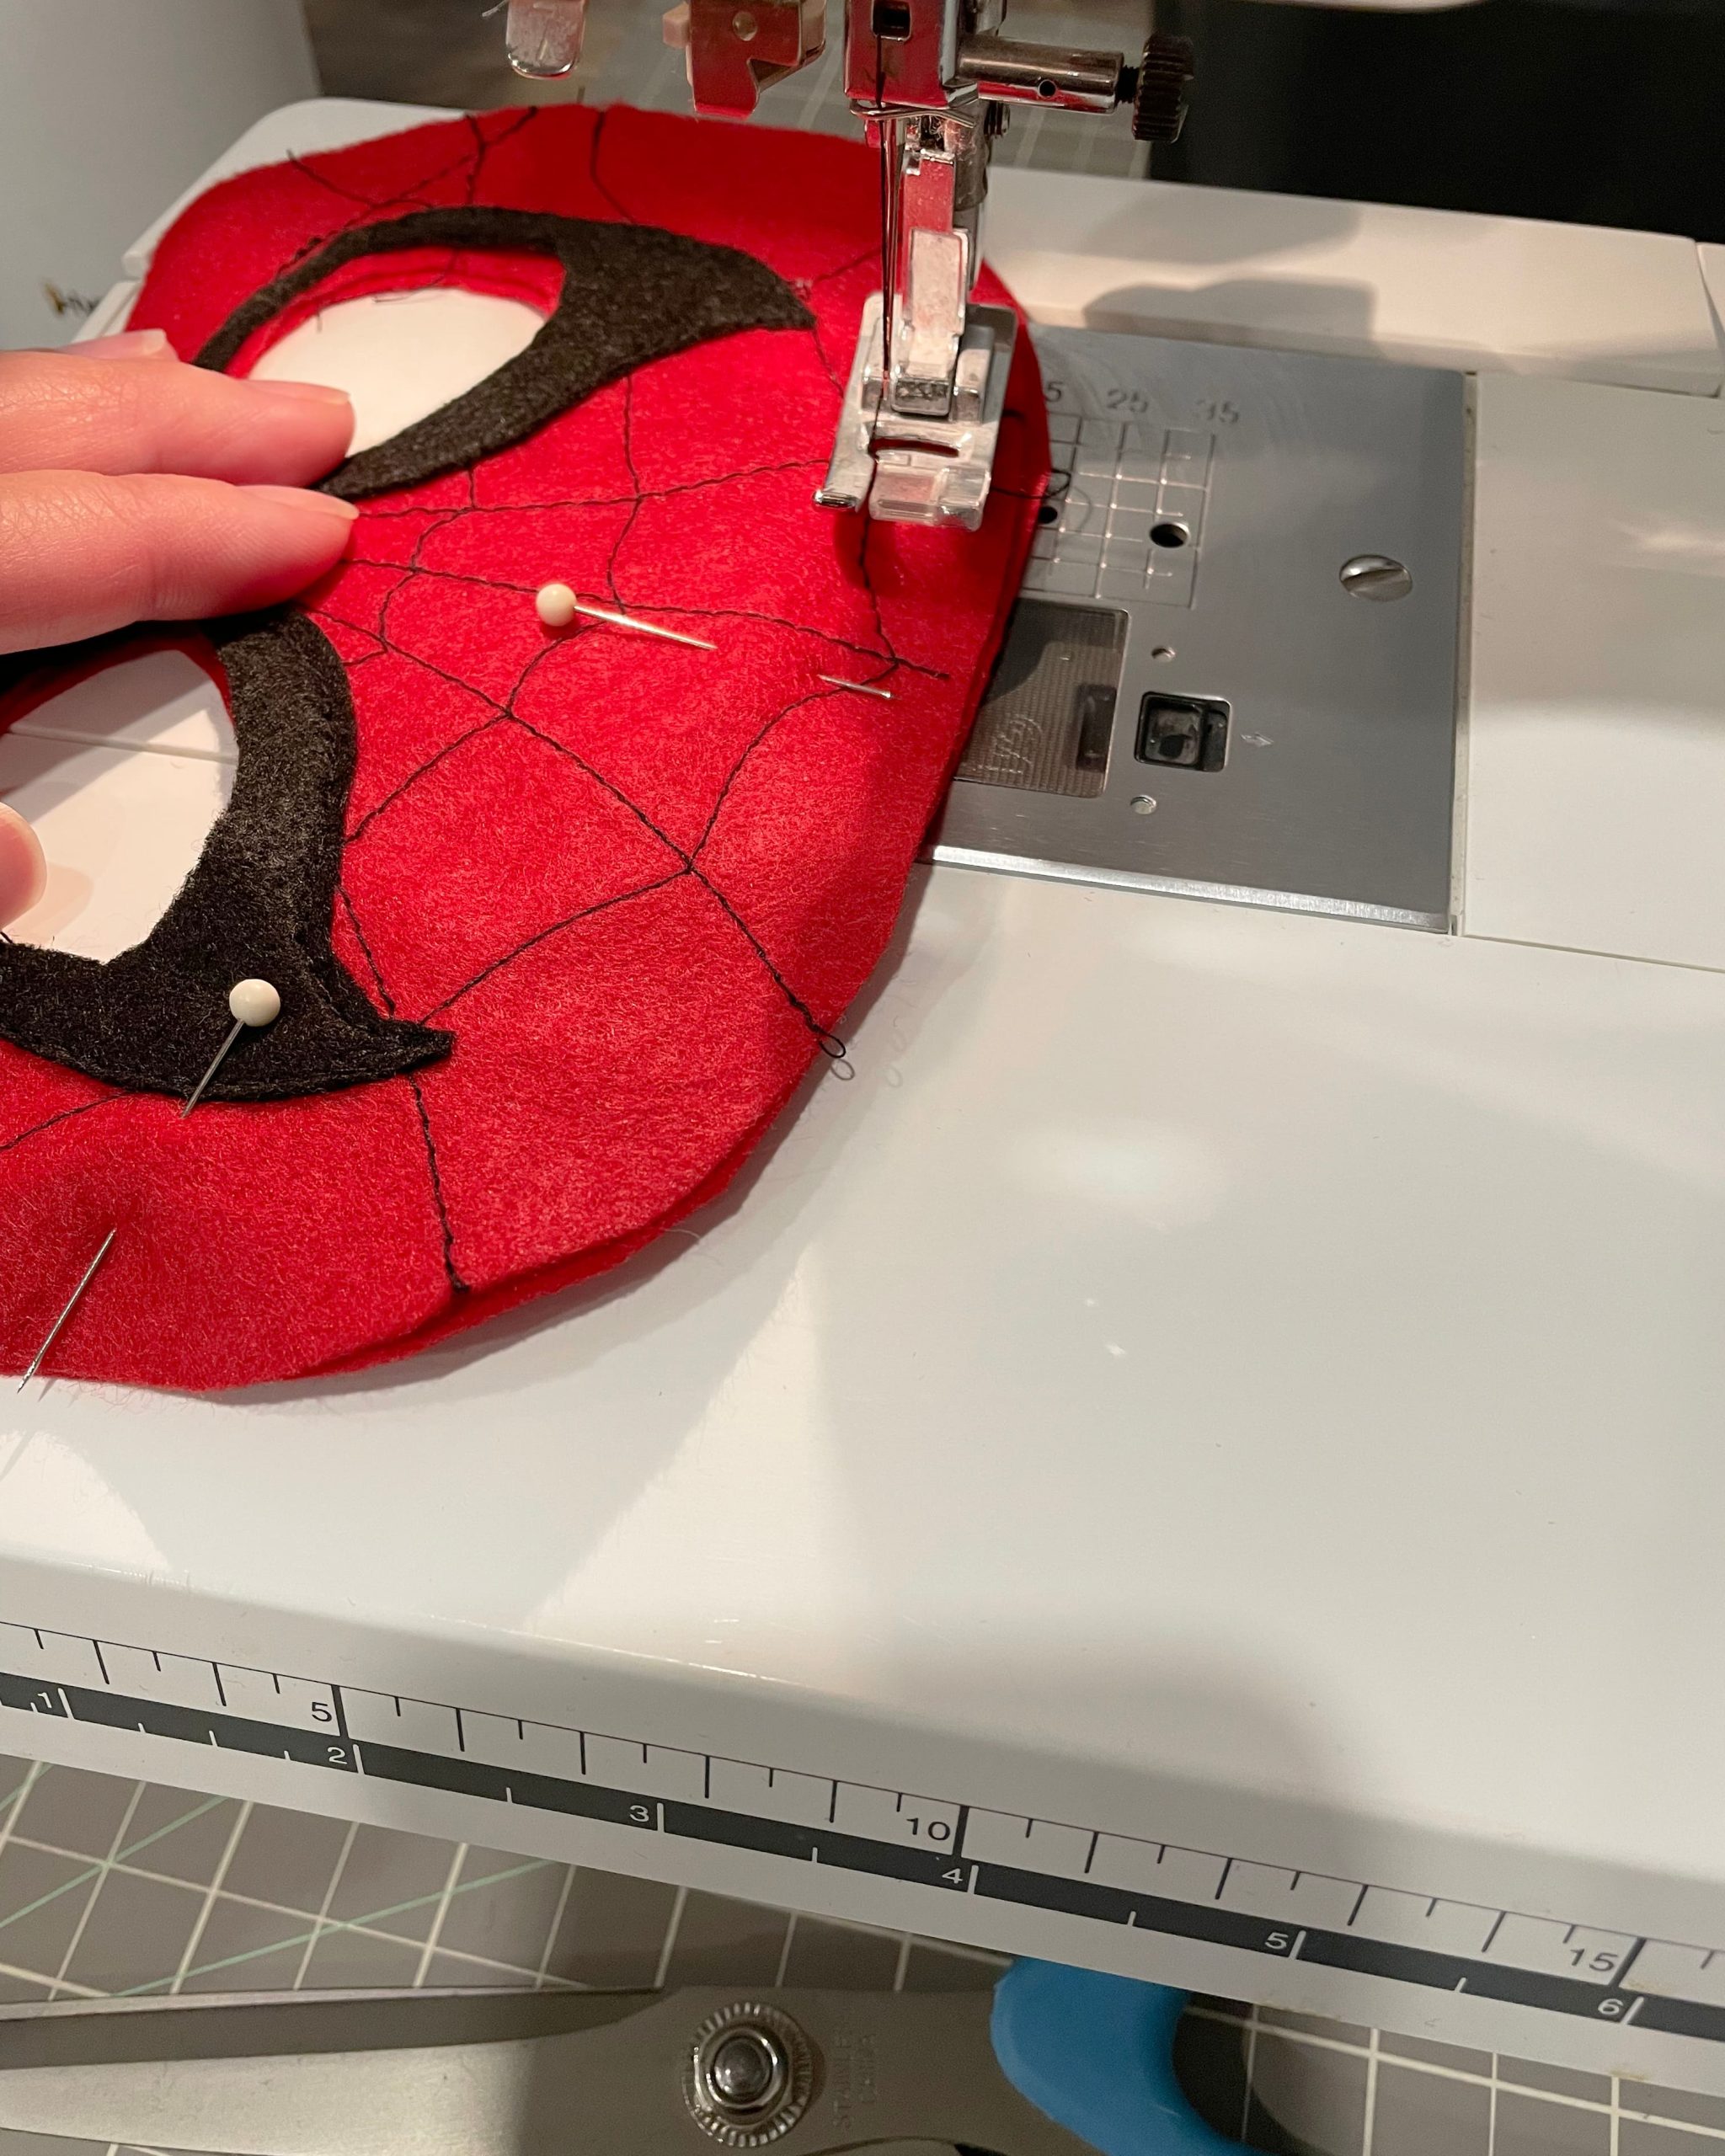
4. Pin two felt mask layers together and sew along the outer edge and around the eye holes (as marked on the pattern) with black thread to attach the pieces.
5. Stitch elastic on backside of mask where indicated on the pattern.
These masks were a huge hit at the party!
— Shop The Post —

If you liked this project, then please Pin and share!


9 Comments
I tried to sign up with my email address, I got a confirmation email with no password! Would love to access this print, would be perfect to throw together for my 2 year old for halloween. Hoping it will be more comfortable than the store bought
Hey Katie, I sent you the template to your email! Let me know if that works, and let me know how the mask turns out. 🙂
Hi there! I also signed up but I never received an email. I need this template for Halloween tomorrow!
Sent!
Hi Minh!
I subscribed but didn’t get an email with a password! Would you be able to send me one? Thanks so much.
You should have it now Brittany! Let me know if you run into any other issues.
Hello Minh,
I have subscribed to the list but unfortunately I do not see any password in the received email, could send me the pattern through email please?
Thanks in advance,
Noemie from France
You should have it in your inbox now!
Can I get the password?